How to Create Original Graphic Designs Without Copying Others: A Comprehensive Masterclass
Master the profound art of creative inspiration, intelligent synthesis, and building a standout professional design portfolio from scratch.
Top 3 Crucial Mistakes Every 3D Printer User Must Avoid
Master the art of additive manufacturing by eliminating filament degradation, incorrect slicer profiles, and dirty build plates.
Introduction to Common 3D Printing Pitfalls
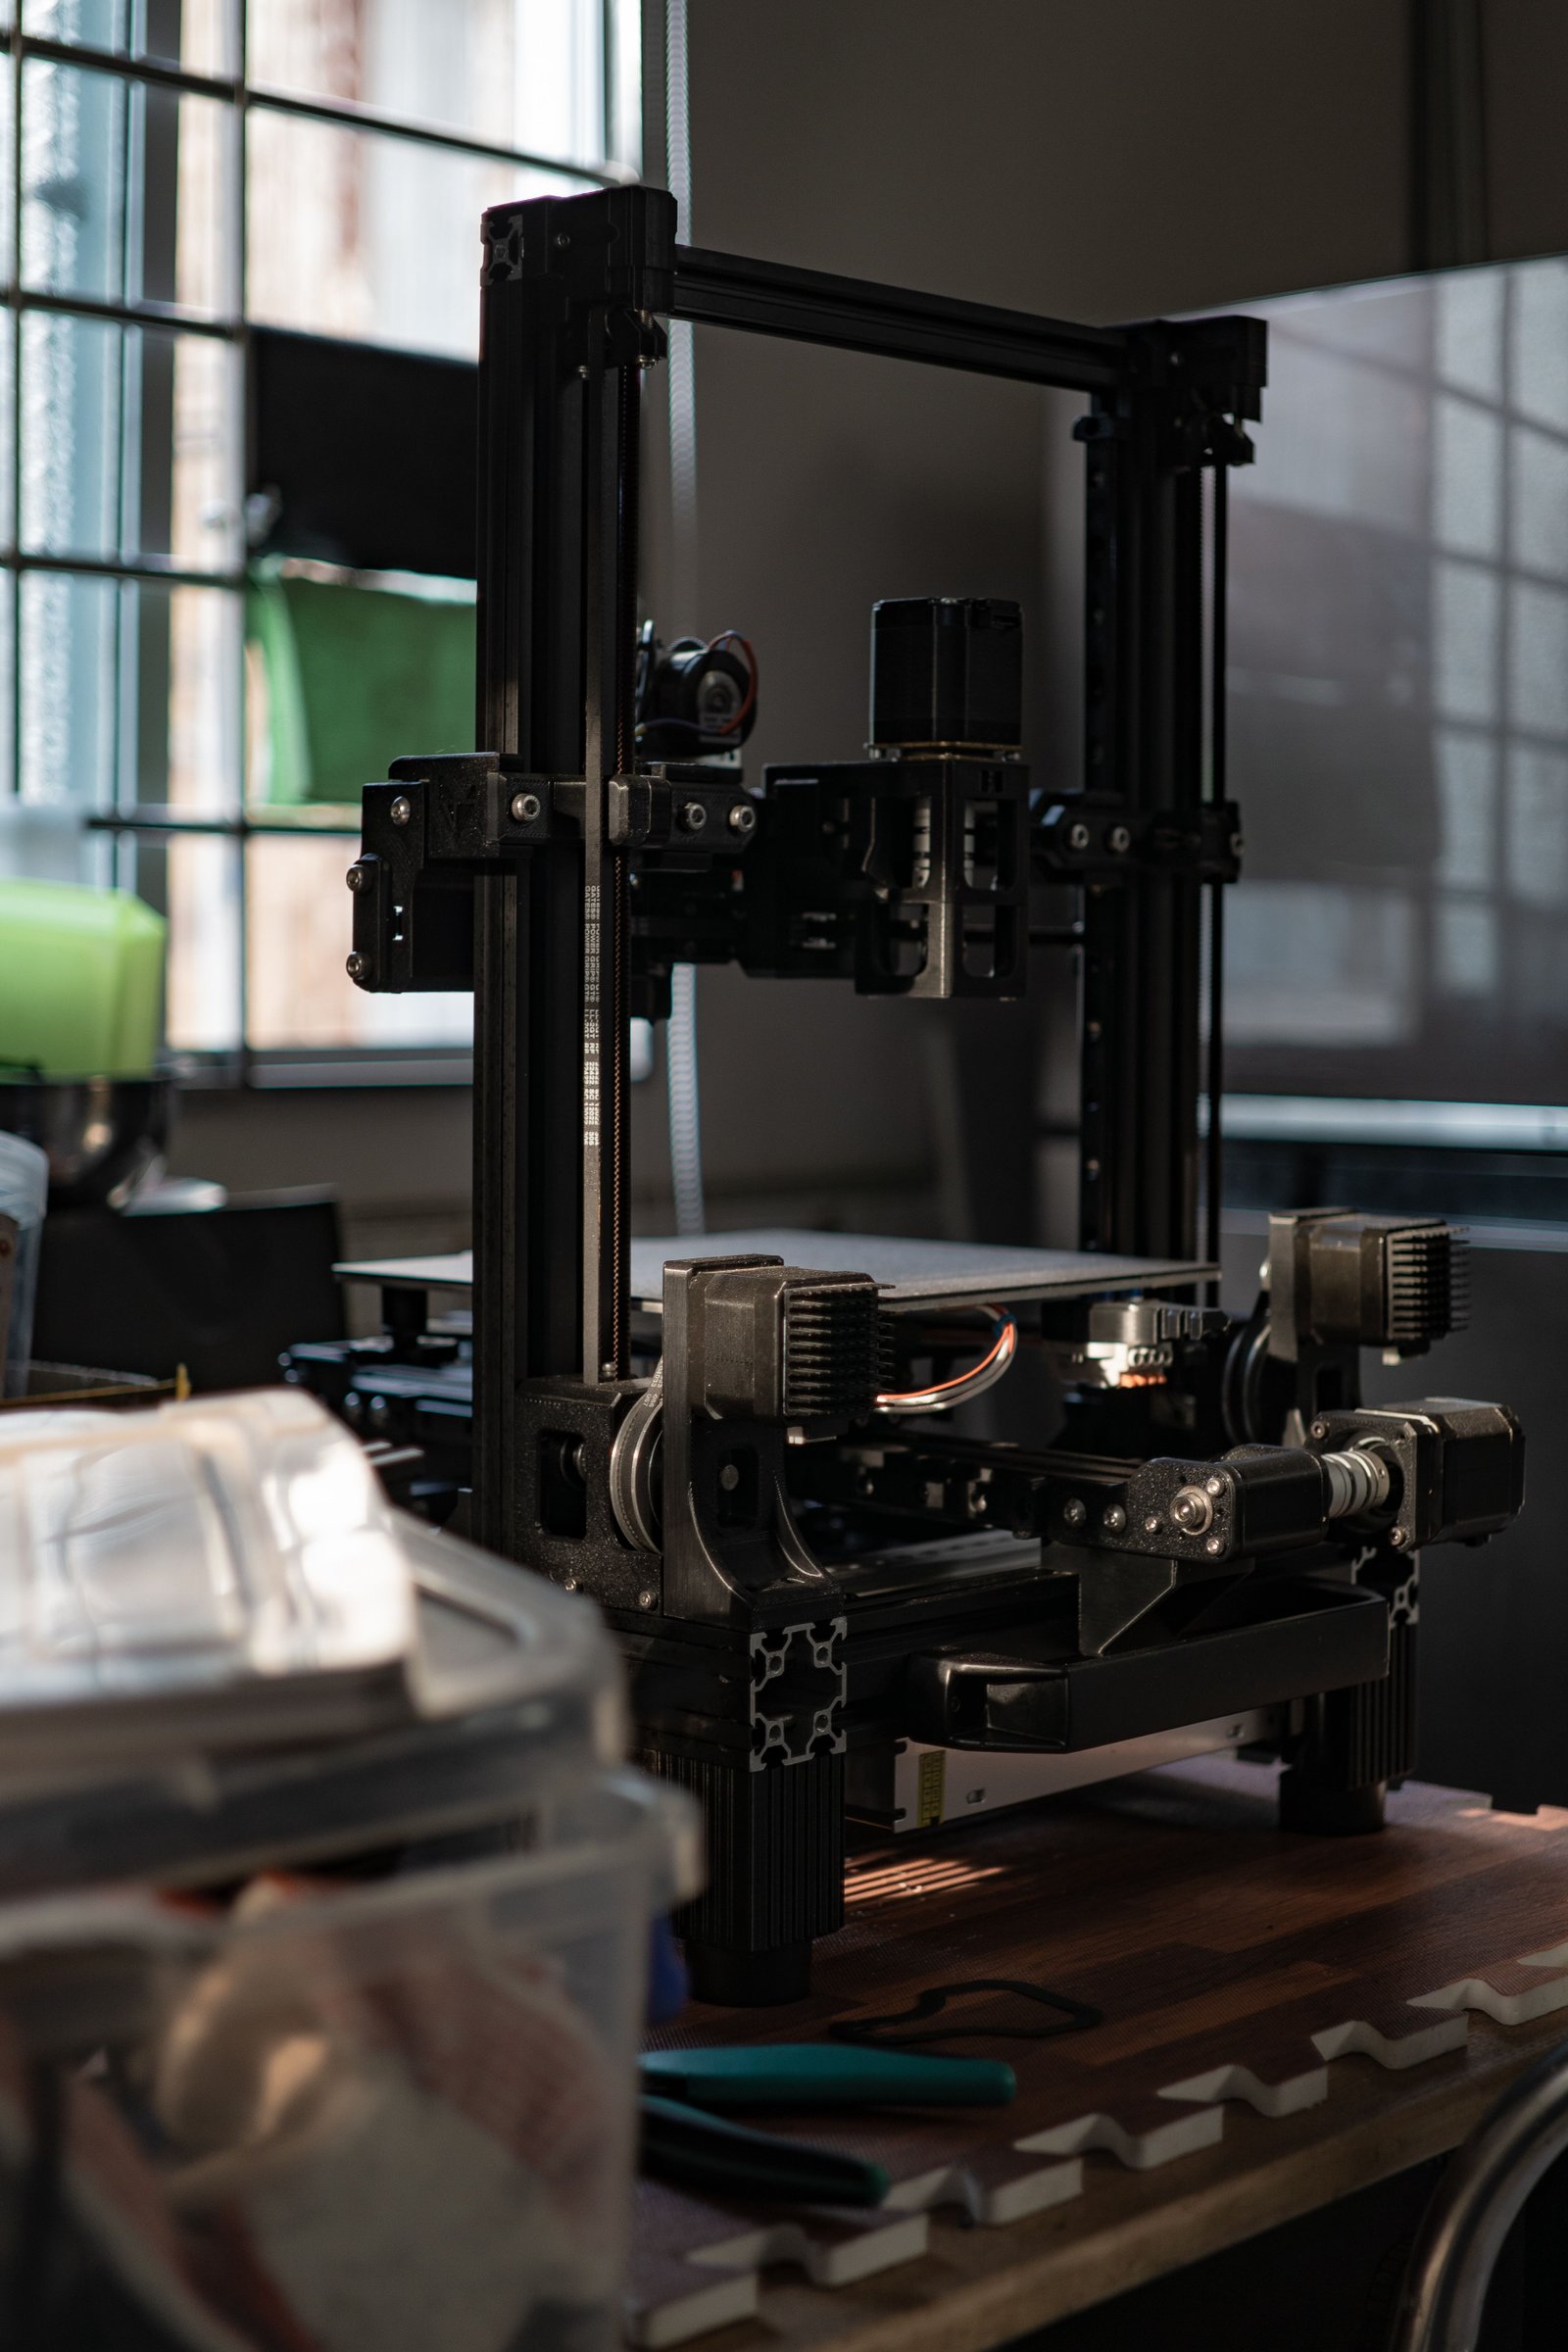
Desktop 3D printing has revolutionized rapid prototyping and home manufacturing. However, even the most advanced 3D printers, such as multi-material automatic material systems (AMS) and enclosed core-XY machines, rely heavily on proper user maintenance and optimal settings. Beginners and experienced makers alike frequently encounter print failures, stringing, nozzle clogs, and poor layer adhesion. In most cases, these issues do not stem from mechanical printer defects, but rather from three fundamental operational oversights.
In this comprehensive guide, we analyze the top three critical mistakes in 3D printing and provide actionable, step-by-step solutions to help you achieve flawless print quality consistently.
Mistake 1: Improper Filament Storage and Moisture Management
One of the most insidious threats to 3D print quality is atmospheric moisture. Thermoplastic filaments—such as PLA, PETG, ABS, TPU, and Nylon—are inherently hygroscopic. This means they naturally absorb water molecules from the surrounding air over time.
Why Moisture Ruins Your Filaments
When moist filament enters the high-temperature hotend of your 3D printer, the trapped water rapidly boils and turns into steam. This expansion causes microscopic explosions inside the nozzle, leading to severe surface blemishes, bubbling, excessive stringing, weak layer adhesion, and unwanted popping sounds during printing. Furthermore, moisture degrades the mechanical integrity of the raw filament spool itself.
As filament absorbs moisture, it loses its natural elasticity and becomes extremely brittle. If you are operating a modern printer equipped with PTFE guide tubes or an Automatic Material System (AMS), brittle filament is prone to snapping inside the reverse Bowden tubes. A broken segment inside the tubing halts your print mid-way, requiring tedious manual teardowns and clearance procedures.
How to Protect Your Filament with Desiccants
Preventing moisture damage requires consistent environmental controls. Follow these mandatory steps:
- Utilize Desiccant Packs: Always store your spools with high-grade silica gel packets. These desiccant sachets actively pull ambient moisture away from the plastic.
- Leverage AMS Desiccant Slots: Advanced closed-box multi-color systems (like the Bambu Lab AMS) feature built-in desiccant compartments designed specifically to hold silica gel packs. Ensure these slots are constantly populated with fresh, active desiccant.
- Vacuum Sealing: When filaments are not actively mounted on the printer, store them inside airtight vacuum bags along with a desiccant pack.
- Use Filament Dryers: If a filament has already absorbed moisture and become brittle, run it through a dedicated thermal filament dryer or active oven dehydrator prior to printing.
Mistake 2: Neglecting Custom Filament Slicer Profiles
Loading a spool of material and printing with generic, default slicer settings is a recipe for mediocre results. While universal profiles may yield acceptable prints on basic geometries, they fail to maximize structural strength, dimensional accuracy, and visual surface finish.
The Importance of Precision Calibration
Every filament manufacturer formulates their plastics differently. A spool of eSUN PLA+ behaves differently than a spool of polymaker or Hatchbox PLA due to varying additives, pigments, and polymer blends. Running every brand at the exact same nozzle temperature or flow rate leads to over-extrusion, under-extrusion, or poor bridge performance.
Optimizing Parameters in Slicer Software
To achieve professional-grade results in slicer software like Bambu Studio, PrusaSlicer, or Cura, take control of your material profiles:
- Brand-Specific Selection: Select the exact brand and material type directly within your printer interface or slicer drop-down menu.
- Temperature Window Tuning: Fine-tune the minimum and maximum nozzle temperatures recommended by the manufacturer on the spool label.
- Dynamic Pressure Control & Flow Ratio: Adjust dynamic pressure advance (Pressure Advance / Linear Advance) to eliminate corner bulging and blobbing.
- Vendor Profiles: Contact your filament vendor or download official manufacturer profile presets (.json or .3mf files) to automatically import ideal cooling fan speeds, retraction distances, and volumetric speed limits.
Mistake 3: Poor Print Bed Hygiene and Lack of Surface Maintenance
The first layer of any 3D print is the foundation of the entire build. If the first layer fails to adhere securely to the build plate, the entire object will warp, detach, or turn into a tangled "spaghetti" mesh midway through the job.
The Science Behind First-Layer Failures
Build plates—especially textured PEI plates, smooth PDI sheets, or glass surfaces—accumulate dust, micro-particles, and skin oils from natural hand contact. Fingerprint oils act as a lubricating barrier between the molten plastic and the heated bed surface, severely weakening adhesion forces.
Furthermore, residue accumulation confuses automatic bed leveling (ABL) sensors and micro-lidar systems. Dirty surfaces lead to incorrect Z-offset measurements, resulting in calibration error codes, uneven extrusion, or nozzle scraping against the plate.
Proper Cleaning Protocol for 3D Printer Beds
Pro Tip: Avoid relying solely on Isopropyl Alcohol (IPA) for long-term bed maintenance. While IPA dilutes oils, over time it spreads a thin film of grease across the surface unless wiped away thoroughly with fresh towels.
Follow this deep-cleaning routine whenever you notice adhesion issues or visible residue:
- Warm Water & Dish Soap: Remove the flexible magnetic build plate from the machine. Take it to a sink and wash it using warm water and grease-cutting liquid dish soap (e.g., standard Dawn soap).
- Scrub Gentle with Non-Abrasive Sponge: Gently scrub the textured PEI surface using a soft sponge to break down stubborn oil films and PVA glue buildup.
- Thorough Drying: Dry the plate completely with clean, lint-free microfiber towels or paper towels. Avoid touching the printable surface with bare hands afterward.
- Inspect Surface Integrity: Regularly inspect PEI coatings for permanent scratches or worn-out patches, replacing the sheet when mechanical wear compromises adhesion.
Conclusion: Consistency Builds Perfection
Mastering 3D printing requires attention to detail and preventive routine care. By implementing proper moisture control with silica desiccants, setting precise filament profiles in your slicer software, and maintaining a spotless build plate surface, you eliminate the root causes of over 90% of common 3D printing failures. Protect your materials, fine-tune your parameters, keep your build plates clean, and enjoy reliable, high-quality prints every single time.
The Eternal Creative Dilemma: Seeking Originality Without Falling Into Burnout
Every single graphic designer, from enthusiastic beginners taking their very first steps in the industry to seasoned professionals managing high-profile corporate accounts, faces a recurring psychological barrier when beginning a new project. The intense pressure to create something completely unique, unprecedented, and revolutionary often leads straight to severe creative paralysis. You sit down in front of a blank screen, armed with the best intentions, telling yourself that this time you will be entirely original and forge a path nobody has ever walked before.
However, forcing your brain to invent entirely new paradigms out of an absolute vacuum is exhausting. You end up overanalyzing every single detail, torturing yourself with self-doubt, and watching precious hours slip away. At the end of the day, you close your laptop with a heavy sense of guilt, feeling like you accomplished absolutely nothing while burning through your mental energy. The reality of professional design, however, is very liberating: true originality does not mean inventing elements from nothing. Instead, it is rooted in how cleverly you research, filter, and synthesize existing visual references into something uniquely yours.
Step 1: Conducting Effective Visual Research on Platforms Like Pinterest and Behance
The foundation of any successful design project is comprehensive and targeted research. When starting a fresh branding or social media design project, never stare blankly at a white artboard waiting for a divine spark. Instead, immerse yourself in visual exploration by leveraging industry-standard platforms like Pinterest and Behance.
- Broad Exploration: Search for keywords directly related to your target concept, such as food marketing, modern typography, or minimalist branding, to see what industry standards look like.
- Curating Standout References: Actively collect designs that trigger an emotional or aesthetic reaction in you, saving them into a structured mood board.
- Filtering Ideas: Sift through your gathered collection and pinpoint the most striking features that align with the core message you want to communicate.
Step 2: Deconstructing and Blending Concepts Ethically
A common trap for novice designers is finding a single stunning design and trying to replicate it with minor color tweaks. This crosses the line from inspiration into plagiarism. The professional secret to avoiding this trap is a process called deconstruction and synthesis.
How to Deconstruct Reference Materials
When you examine a collection of reference images, you must isolate them into distinct mechanical components rather than viewing them as untouchable wholes:
- Color Palettes: Extract specific tone combinations, gradients, or contrasting color rules from the first reference image.
- Textures and Backgrounds: Borrow organic grunge textures, subtle paper grains, or geometric patterns from a completely different artistic source.
- Typography Treatments: Observe how headlines are structured, scaled, and paired with secondary body fonts in another layout.
- Compositional Framing: Note how negative space, framing lines, and focal points are organized to direct viewer attention.
By pulling a texture from Project A, a color grading style from Project B, and a typography alignment from Project C, you successfully blend these separate ingredients into a brand-new recipe. The resulting composition bears your own creative DNA.
Step 3: Mastering Visual Hierarchy, Focal Points, and Composition
An impactful graphic design relies heavily on guiding the human eye smoothly across the layout. When analyzing your reference collection, pay acute attention to how professional designers construct visual hierarchy.
For instance, examine how a product like a burger is positioned dead center to dominate the frame, with supporting typography seamlessly woven behind it. Notice how discount badges are enclosed within geometric shapes like circles or custom paper textures to make them pop out. By understanding these placement rules, you can intentionally break and rebuild layouts that communicate information clearly while remaining visually arresting.
Step 4: Accelerating Growth and Monetizing Your Practice Projects
Theory alone will never make you a great designer; consistent practical execution is what separates amateurs from professionals. Once you understand how to synthesize references, put this framework into motion immediately.
Expanding Your Portfolio Without Live Clients
If you are struggling to land freelance clients or secure a full-time design position, do not let your workflow stall. Create fictional brand identities, redesign your favorite local restaurant's promotional graphics, or build conceptual poster collections. Treat these self-initiated tasks with the same strict standards as paid commercial work to build a robust portfolio.
Generating Passive Income from Practice Work
Every single design project you complete holds inherent financial and educational value. If you cannot find immediate clients, package your best creative concepts as digital design templates. Upload them to global stock and template marketplaces. This approach allows you to earn passive revenue for every single sale or download while continuing to sharpen your artistic expertise.